
News·
No-code customers feedback sentiment analysis with Typeform, Tinq, and Airtable
Perform sentiment analysis on customer feedback with no code using Tinq AI, Typeform, and Airtable.
The only AI workspace you need
Tinq AI's text analysis platform allows you to analyze and extract valuable insights from thousands of customer feedback in a matter of minutes. In this guide, we will go over how to automate your sentiment analysis process using Tinq's sentiment analysis with a Zapier integration.
Let's consider the following scenario: You just launched a new product and you are interested in getting your users' feedbacks in order to understand what works and what is not. One way to do it is to read each feedback and label them manually, this can be fine if you have a couple or a dozen of them. However, if you have hundreds or thousands of feedbacks, it will be nearly impossible to analyze and label them.
Let's automate this process using Tinq AI and Zapier.
You will need:
Zapier is a third-party tool that links Tinq to a variety of other apps and services, such as Slack, Twitter, Gmail, MailChimp, Github, and others. This guide will show you how to create zaps where Typeform is the trigger (for example, new feedbacks will trigger the zap) and where Tinq is the action (for example, performing anything in another app/service will automatically trigger a zap). Airtable will also be an action, we will insert our new customer feedbacks with their label in Airtable.
First, let's create our Typeform customer feedback request form:
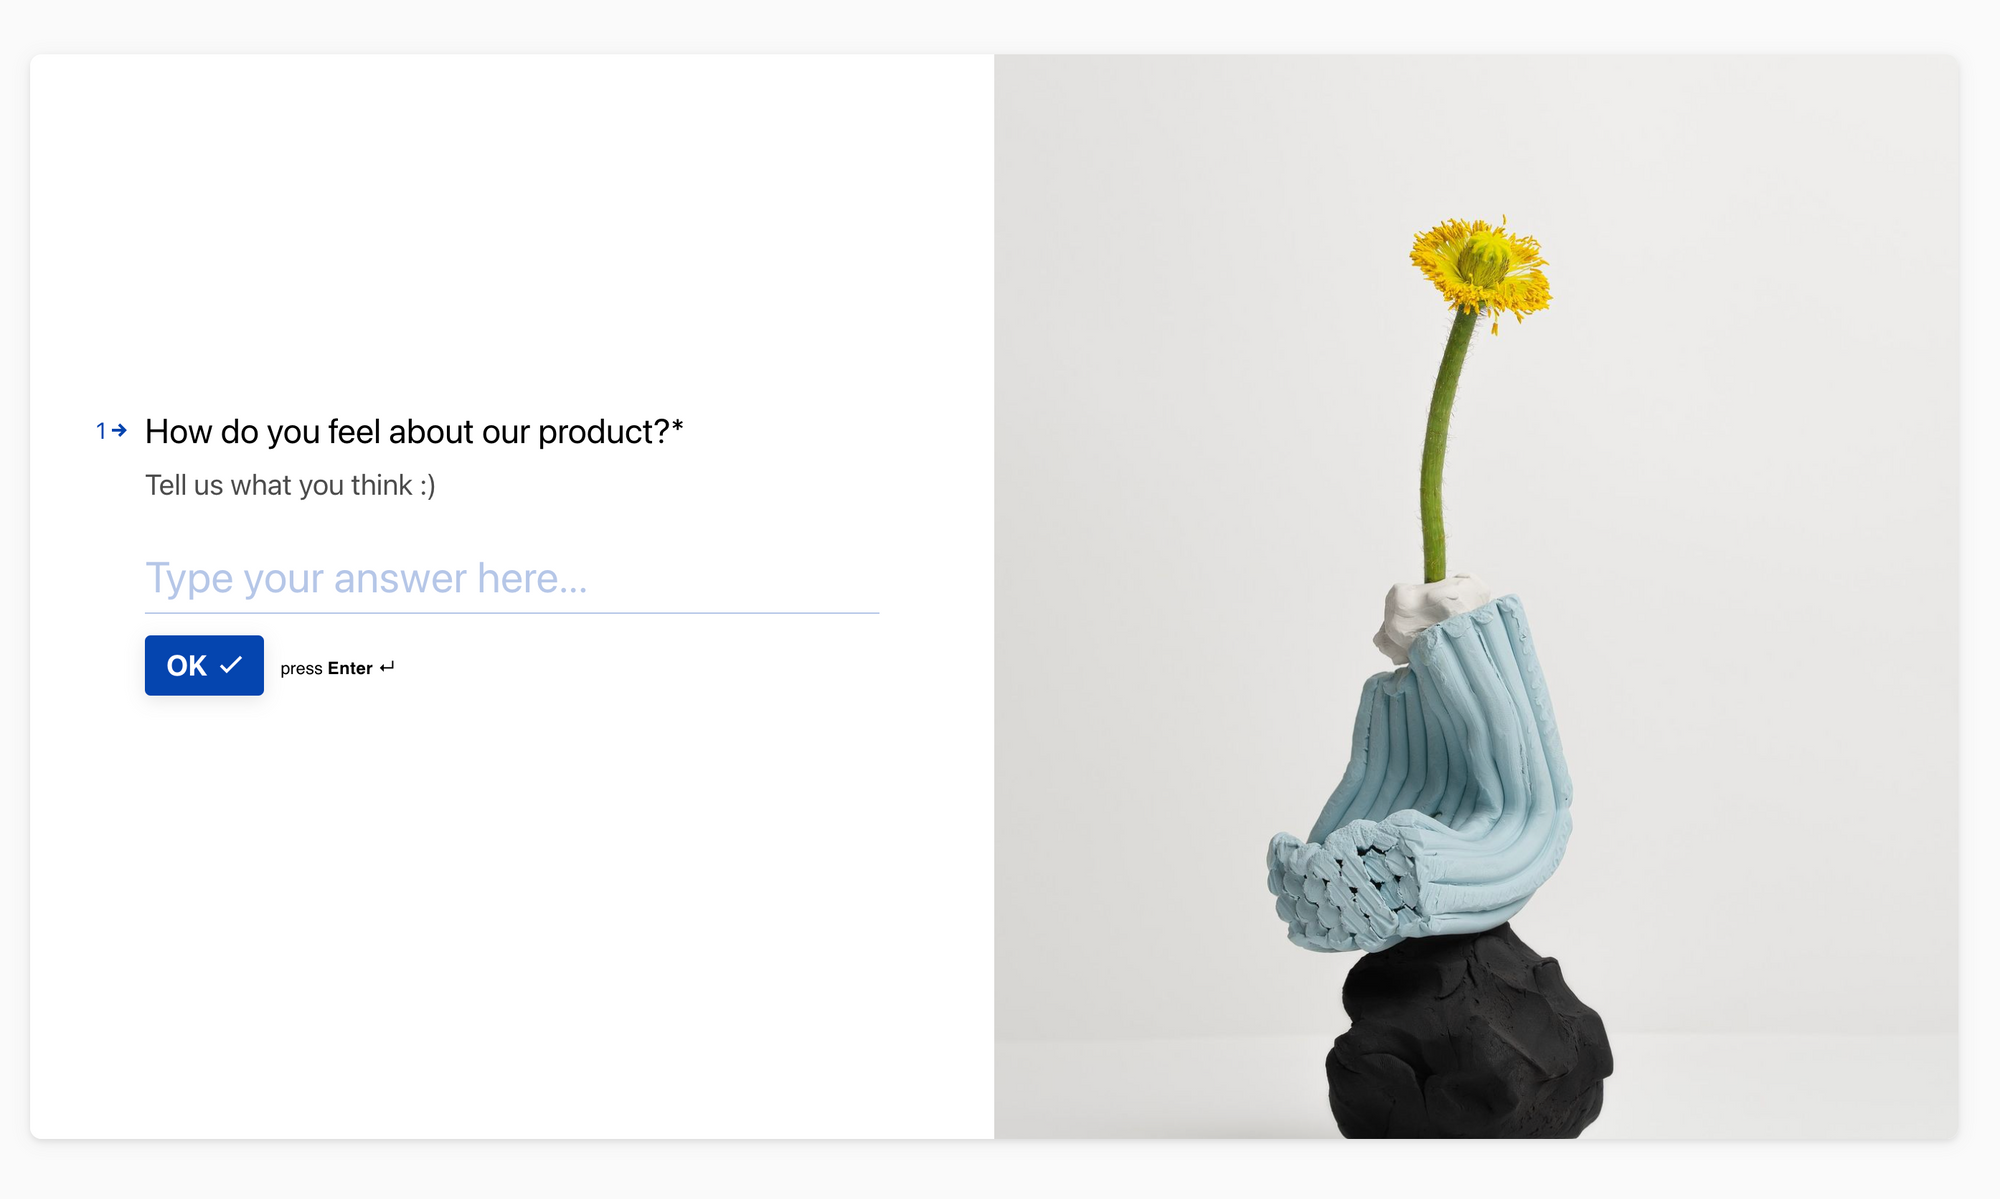 The form that I have created is a simple form simply asking users how they feel about my product. Yours can have more entries if you wish.
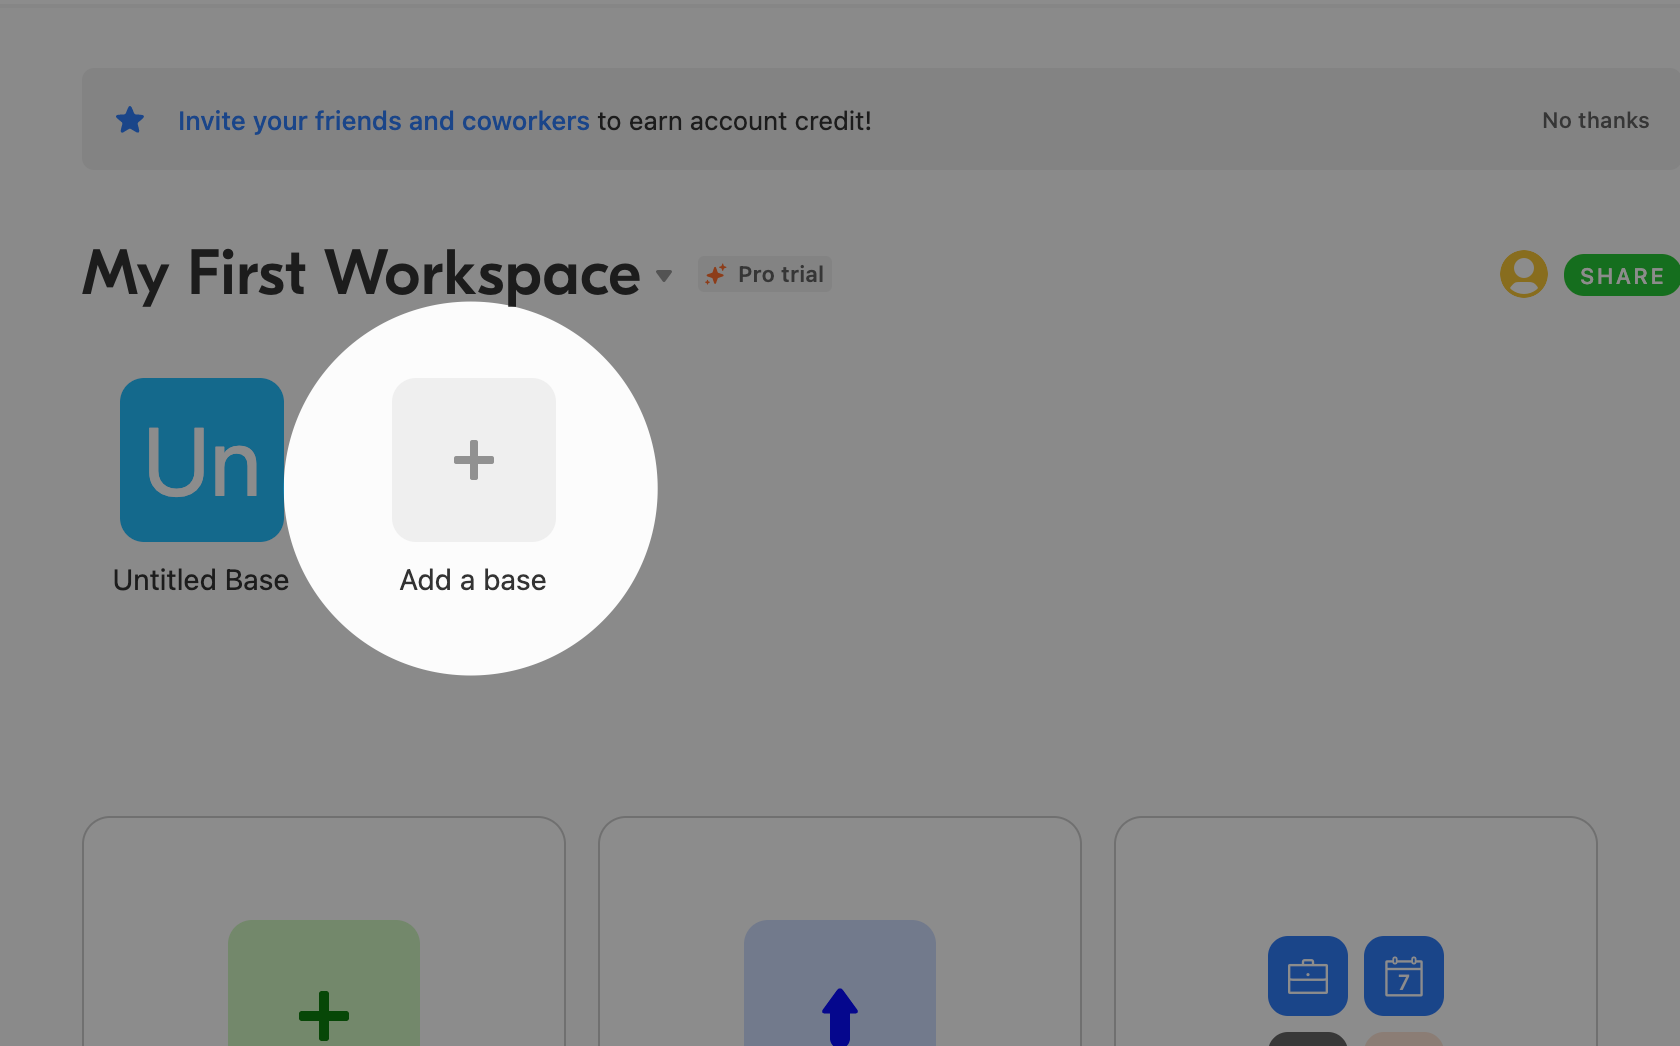
The next step will be to create your Airtable database. In your workplace, simply click on "Add base".
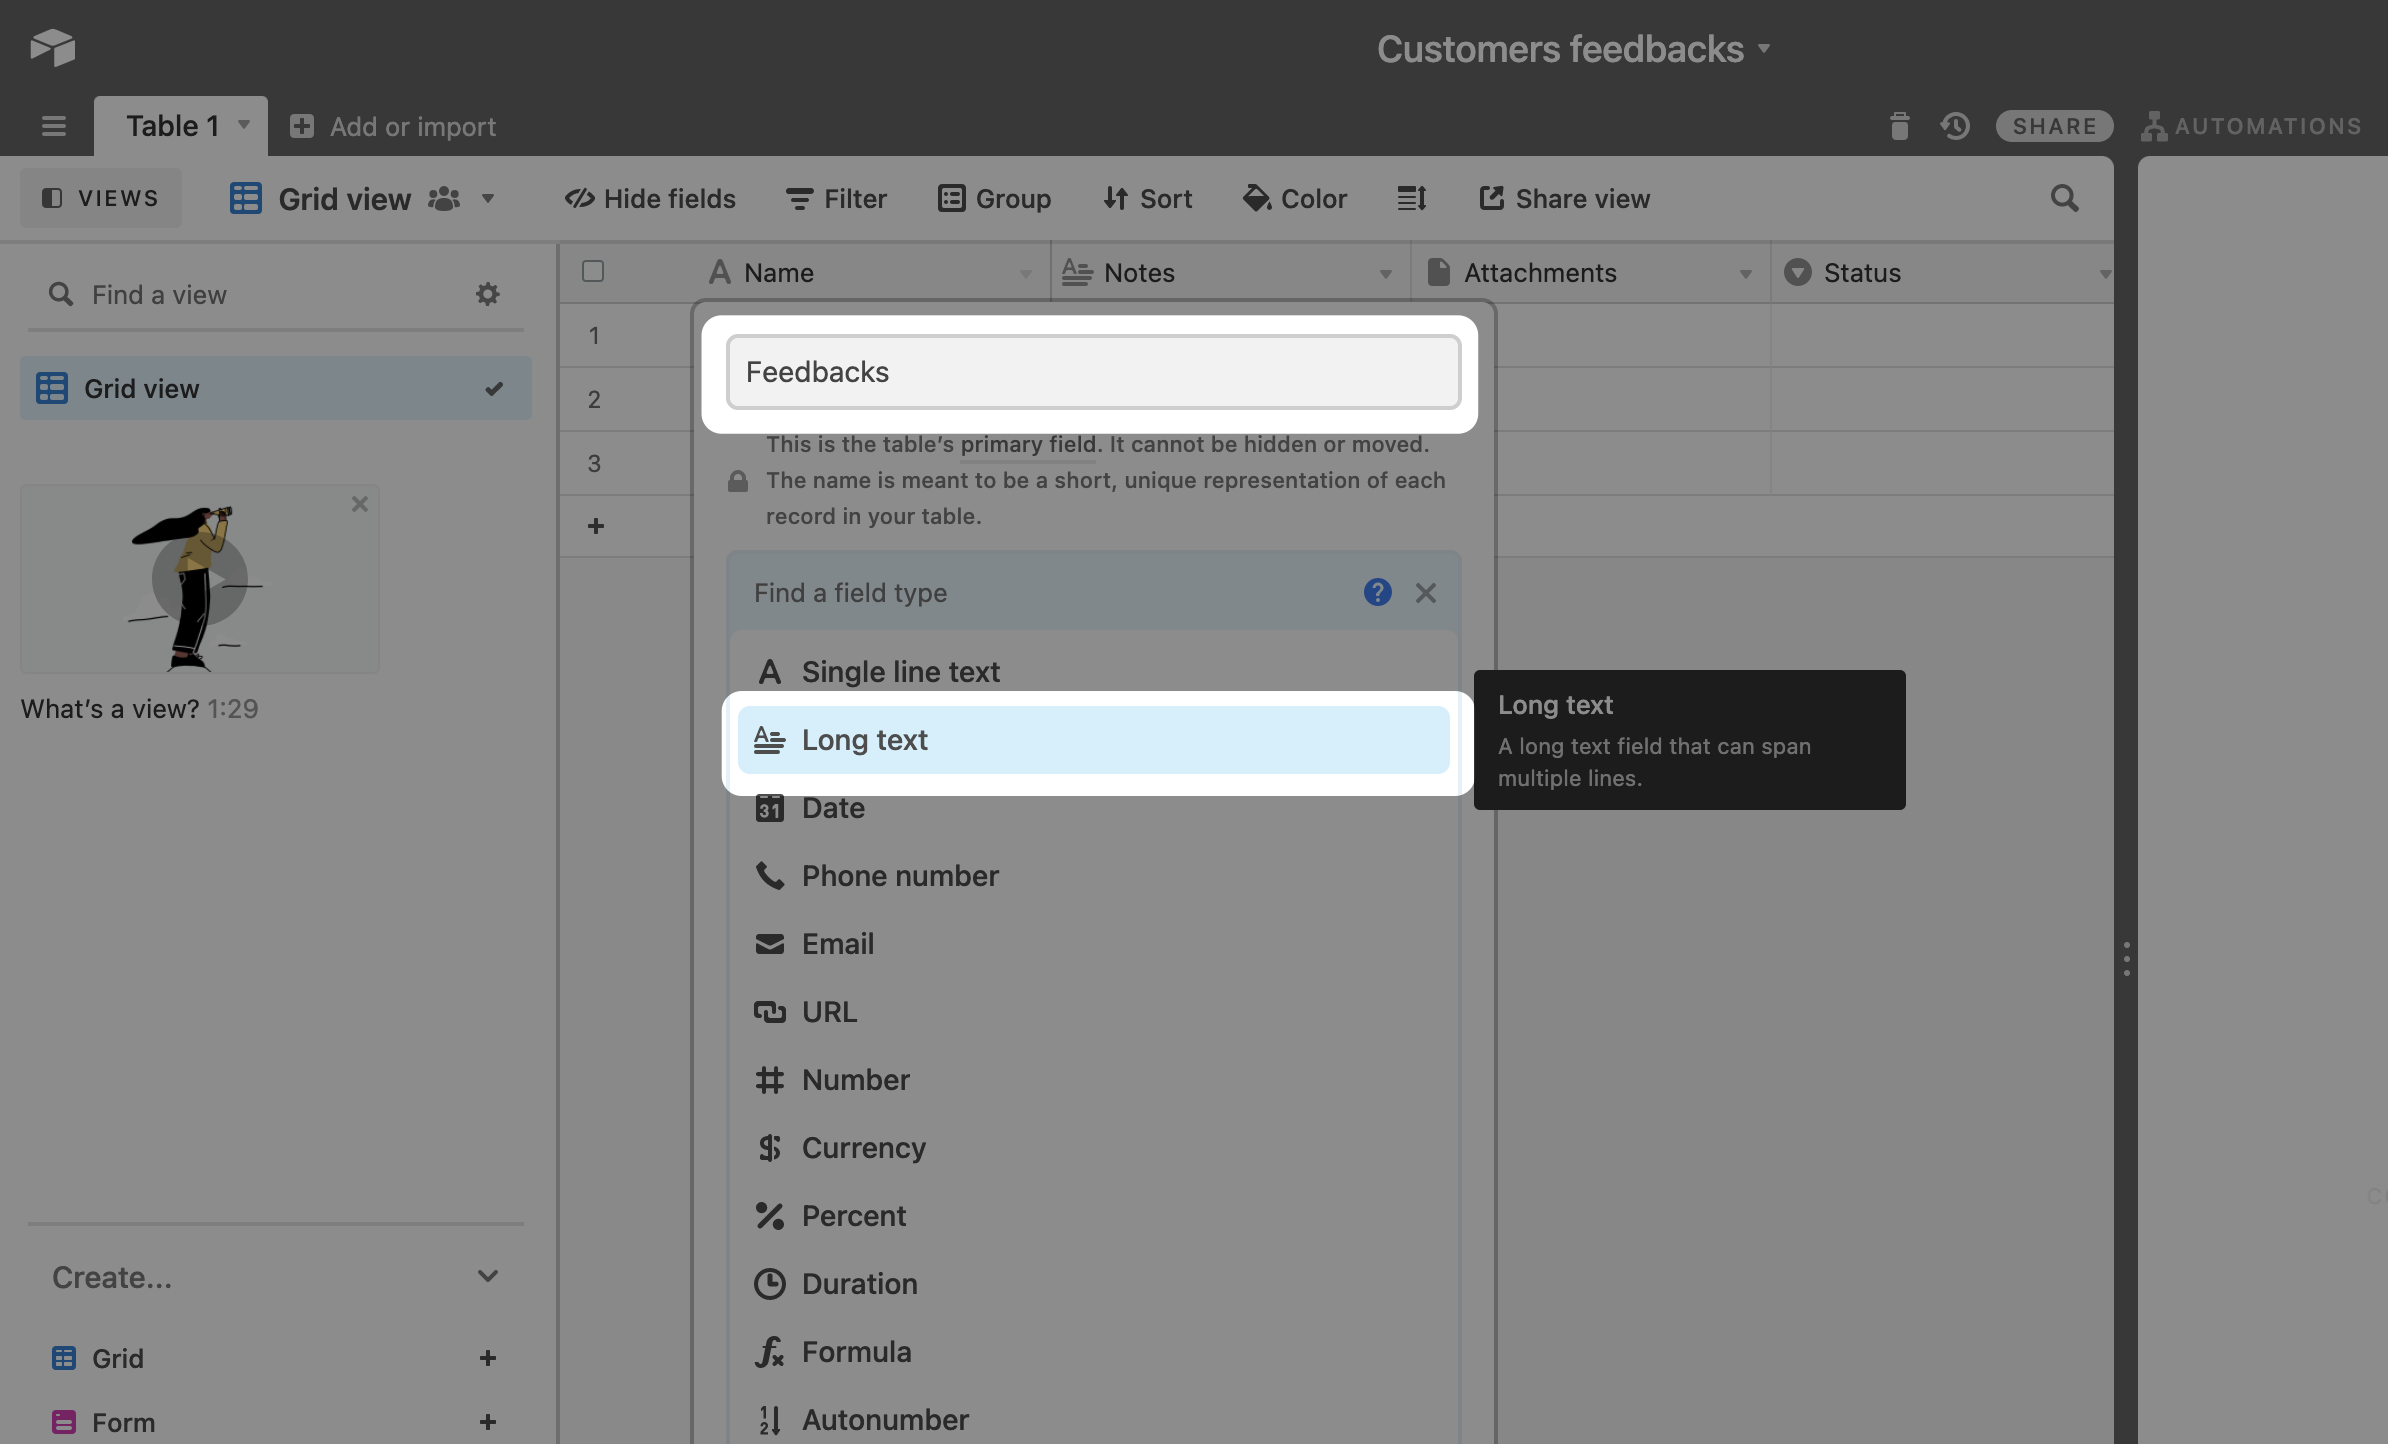
 You will be asked to start from a template or from scratch. You can do either, but for our purpose, we will create start from scratch. You will have a base prefilled with existing columns. We will edit them for our needs:
The first column will be feedback (ideally long text), the second can be the sentiment (single-line text).
 Now we are done with the Airtable section and we can go ahead and create our Zap in Zapier.
Click here to access the Tinq AI's Zapier integration, click on "Accept invite and Build zap". Once you accept the invite, Tinq's integration will be added to your integrations list like any other.
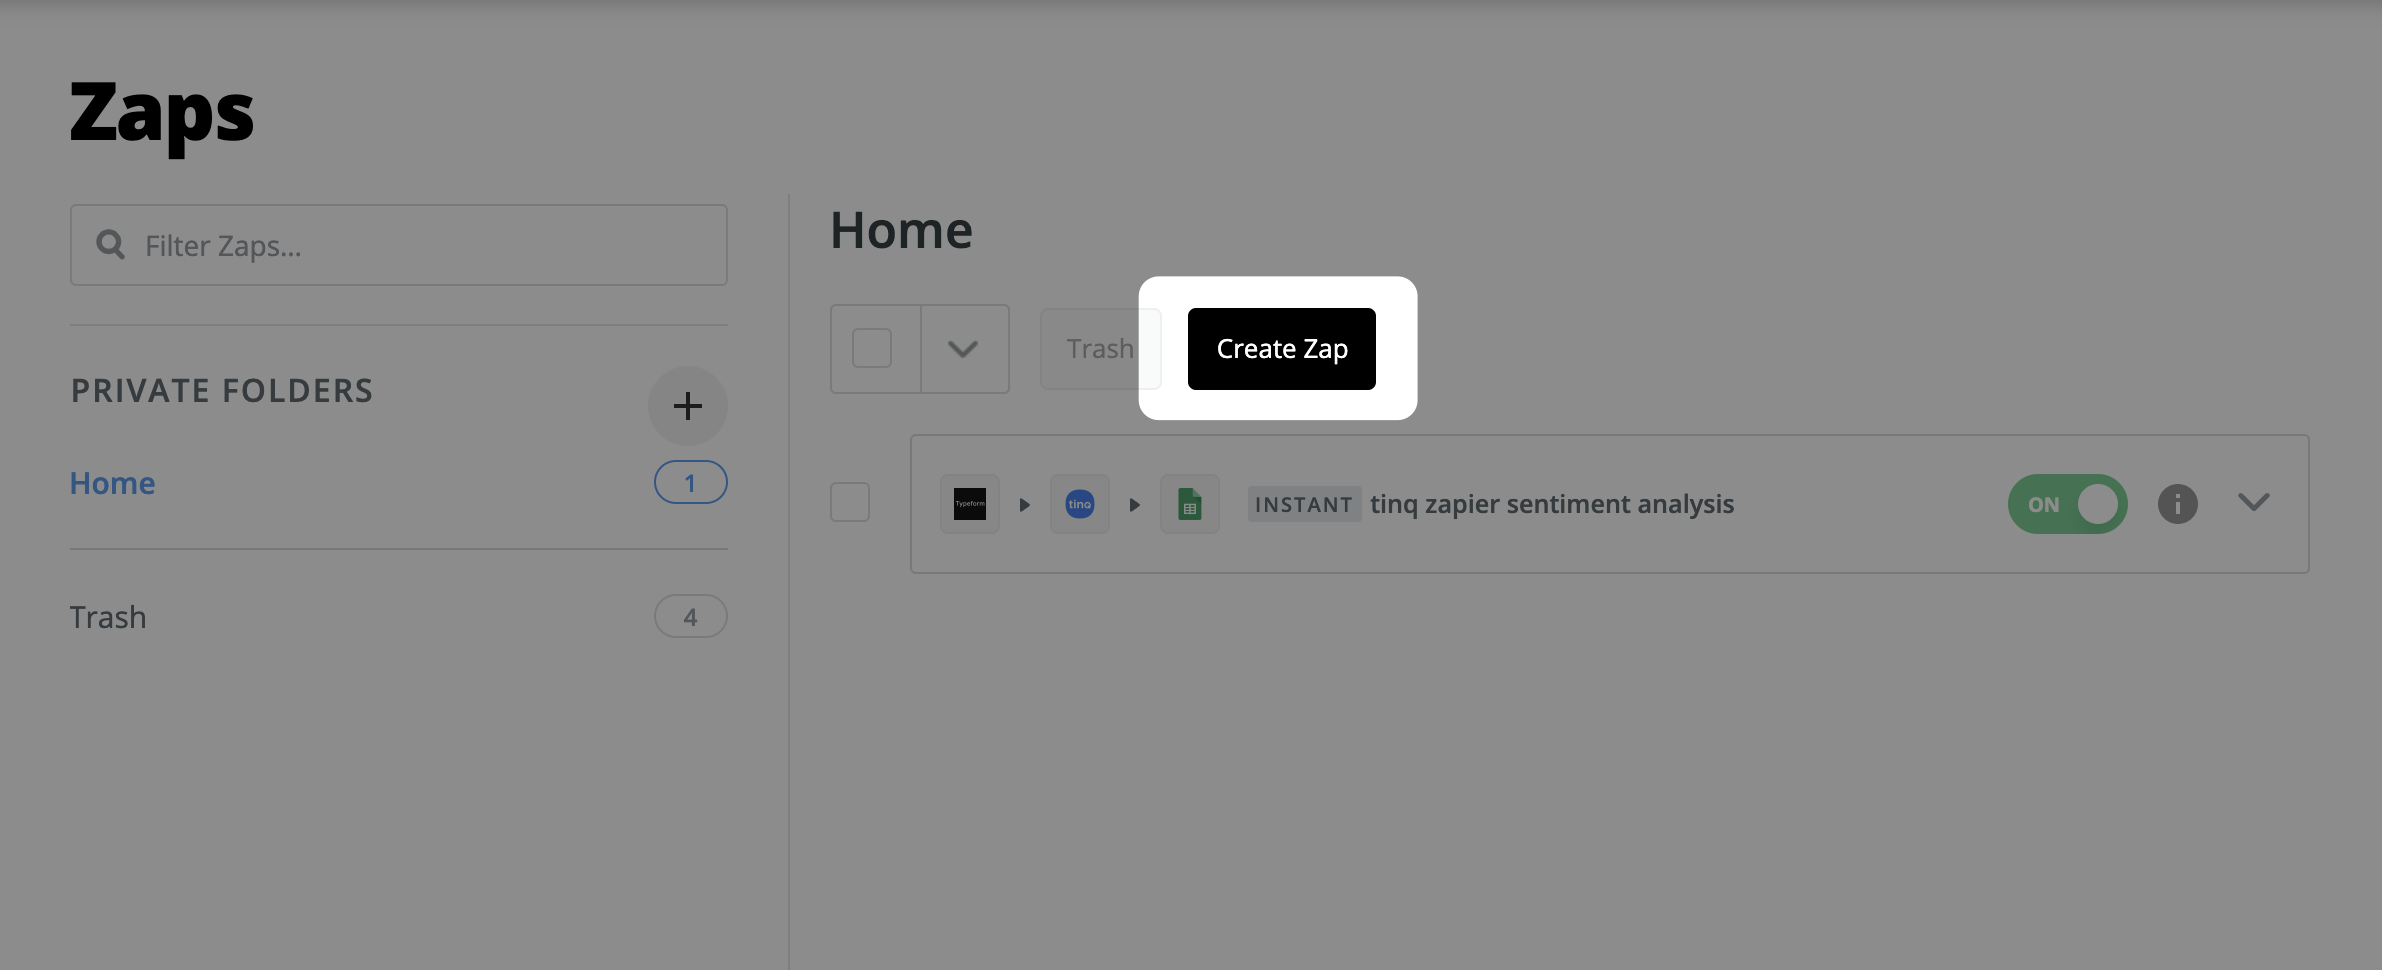
Click on "Create Zap"
 ### 1. Create a trigger - Pull feedbacks from Typeform
You will now be taken to the page where you will configure your zap. First, you will need to select the "trigger", which will be the Typeform.
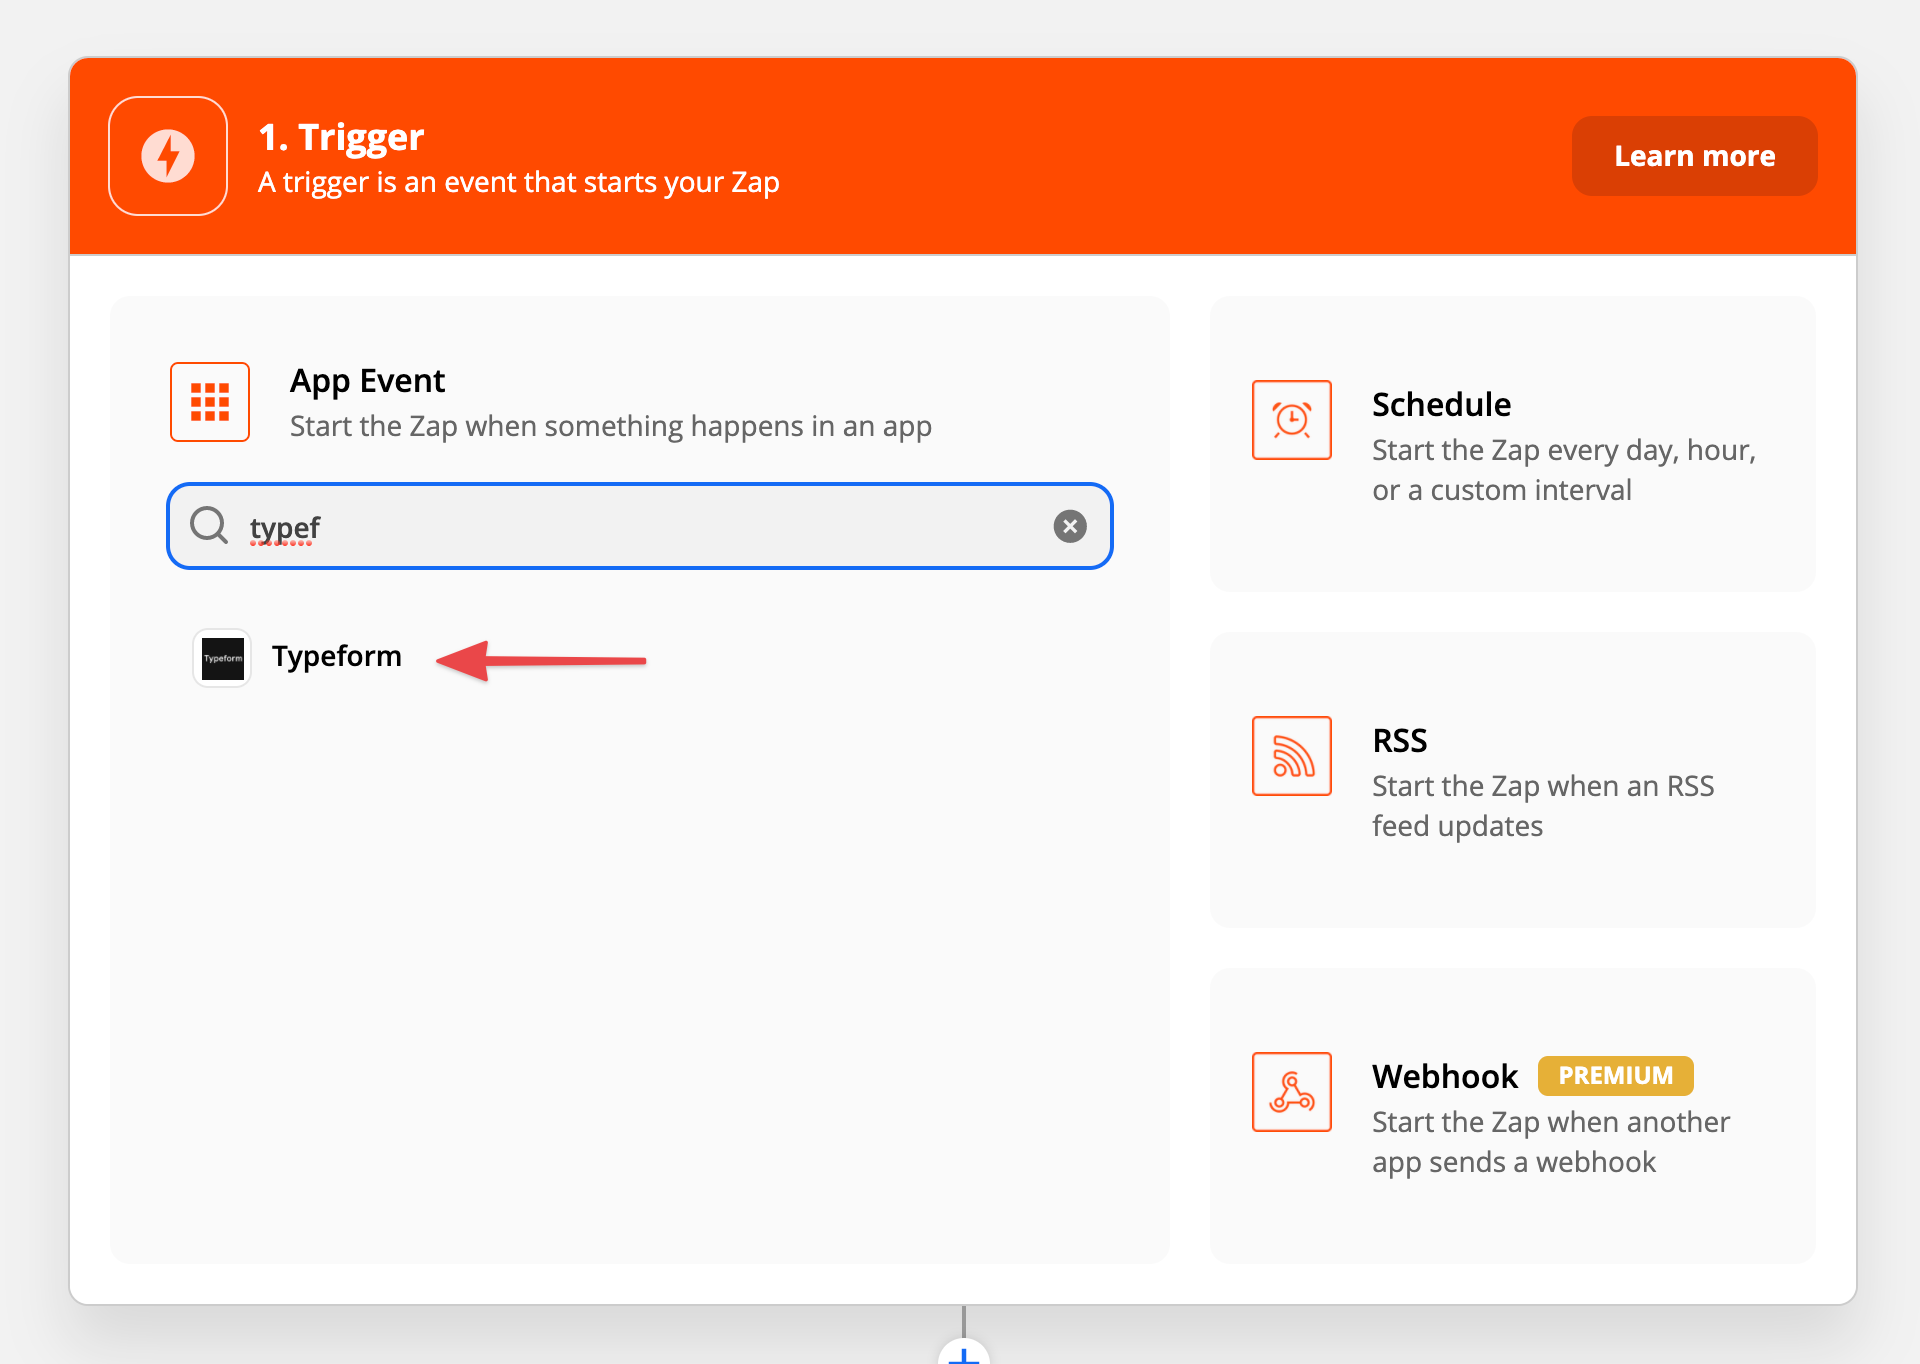 After selecting Typeform, you will be asked to choose a trigger event. You should select "New entry". Then, you will be prompted to add your account, you can either select an existing account or add a new one. Once you've added your account, you can select which form you would like to use. In our case, I'll use the one that I recently created "customers feedback".
 Once this step is done, you will be prompted to test the trigger, this step will return you all the fields of your form, like this:
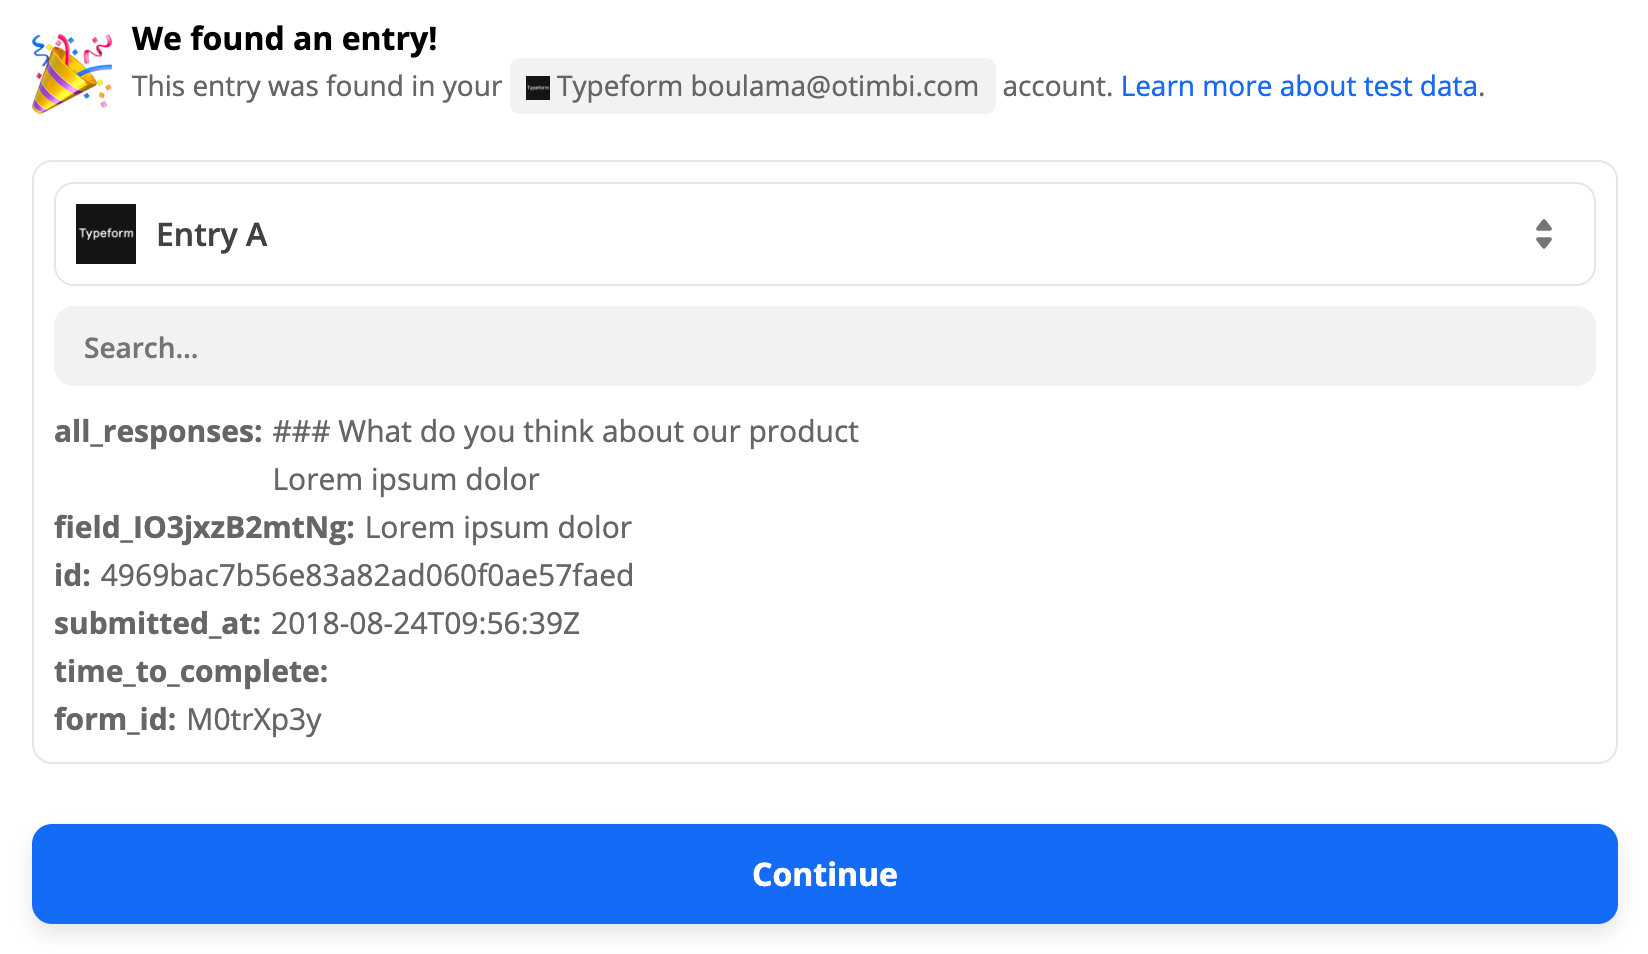 This step is quite important, you need to find out which field is the response from your users, in my case, it is the field "field_103jxzB2mtNg", and the output is "Lorem ipsum dolor". This is the only field from Typeform that we will need.
2. Create the Tinq action - Perform sentiment analysis using Tinq AI
Here you will use the data obtained from Typeform and pass it to Tinq for analysis.
First, you will need to add Tinq's integration. The step will be the same as Typeform. Just search for it and add it.
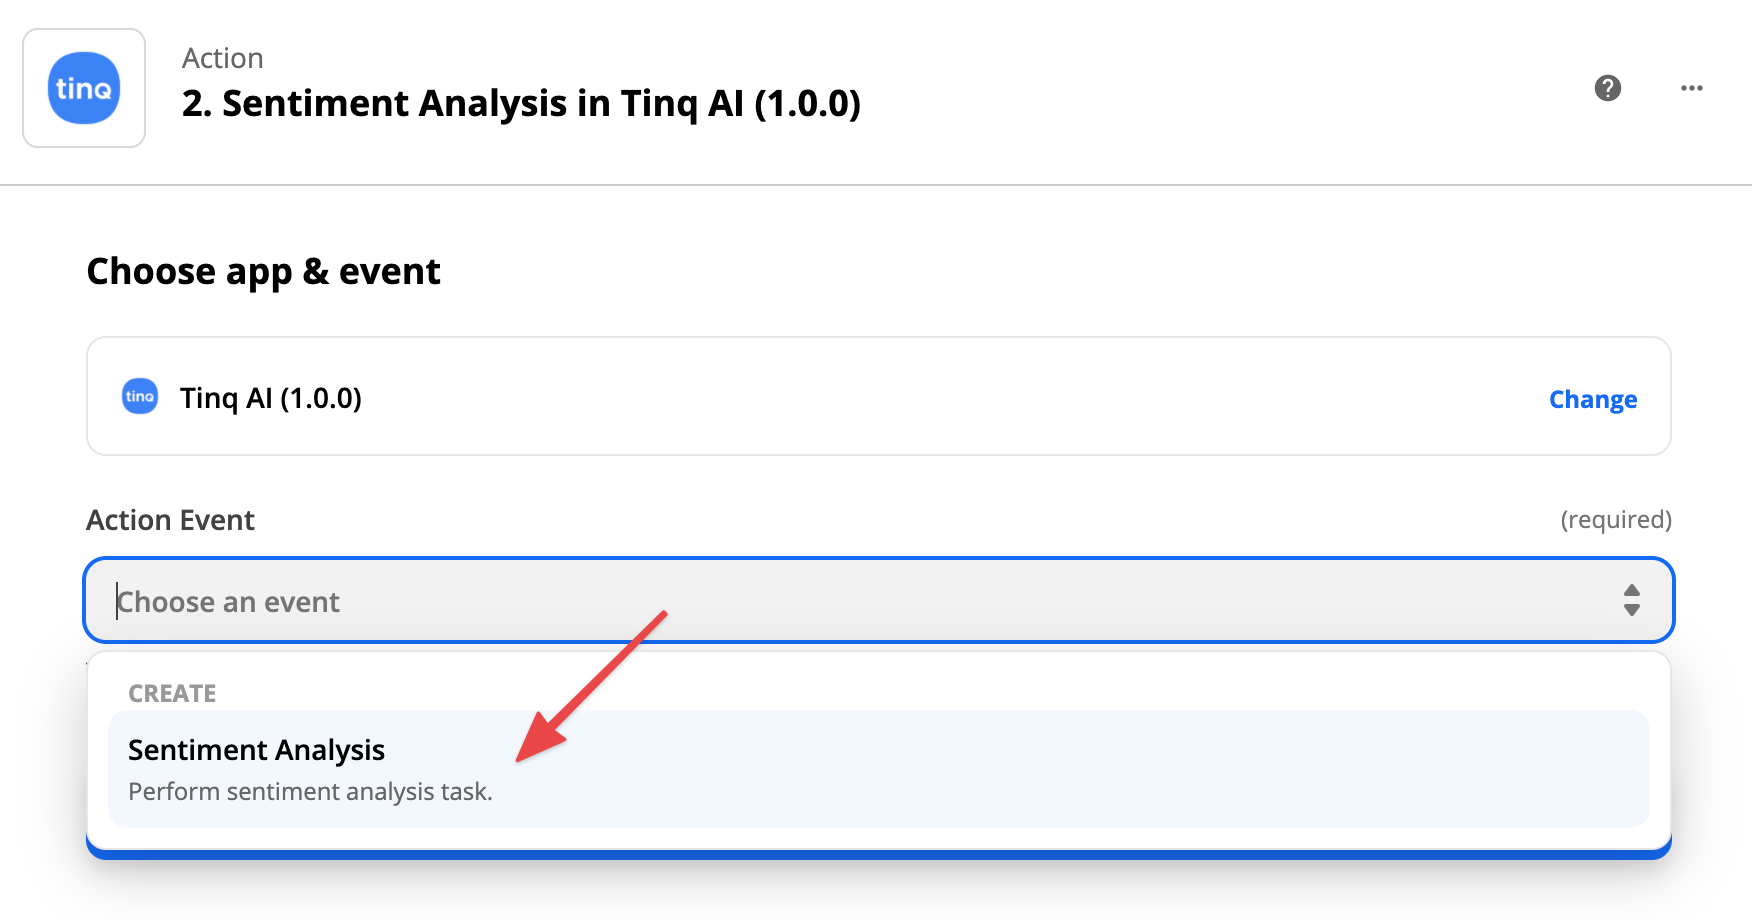
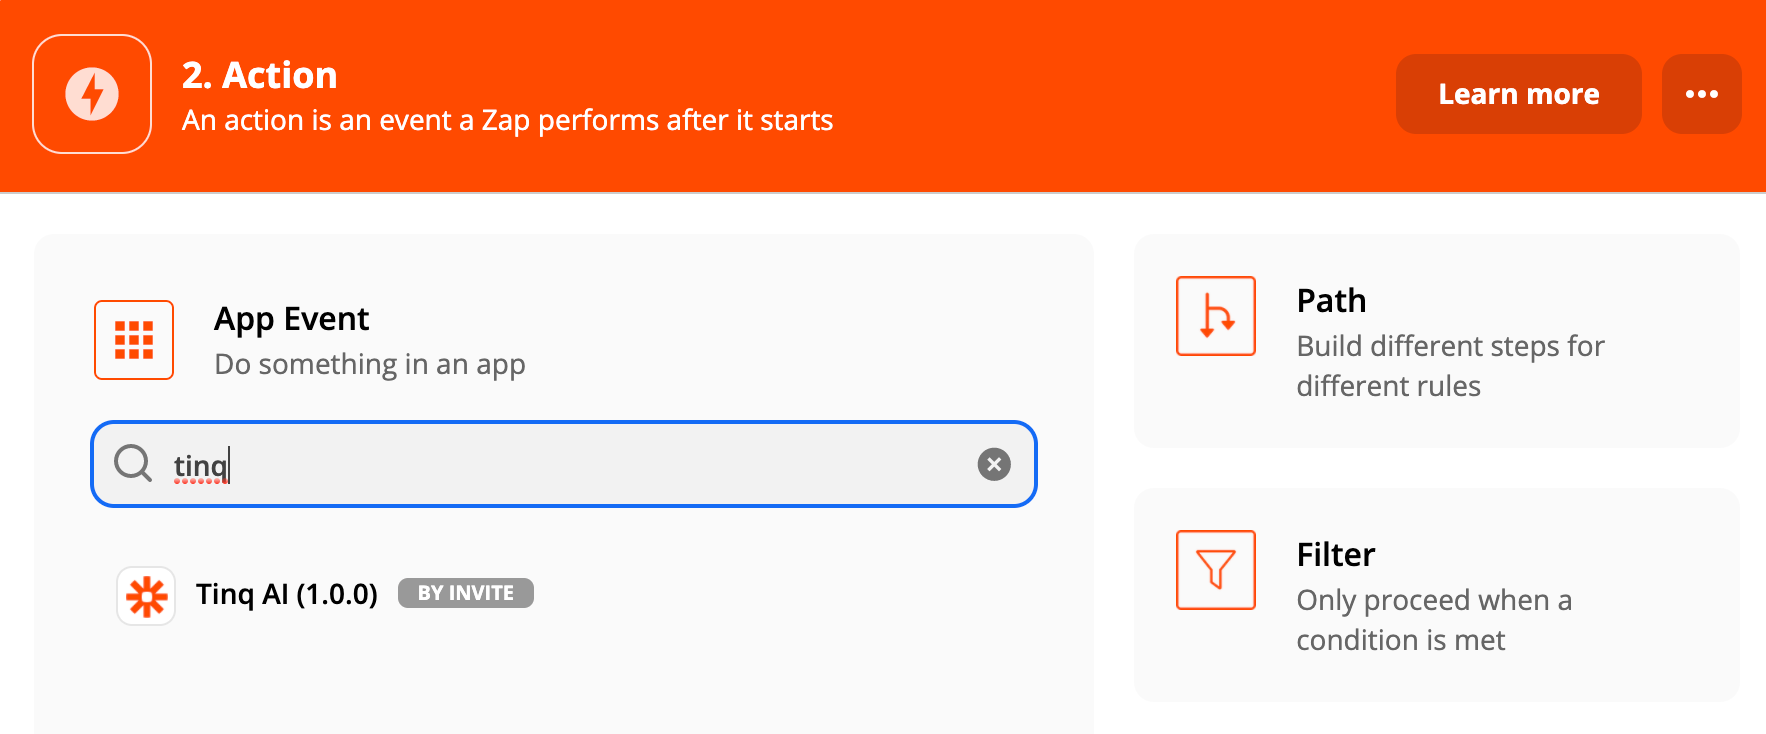 Once it is added, you will be asked to choose an event, in this case, since we want to perform sentiment analysis, just choose "Sentiment Analysis".
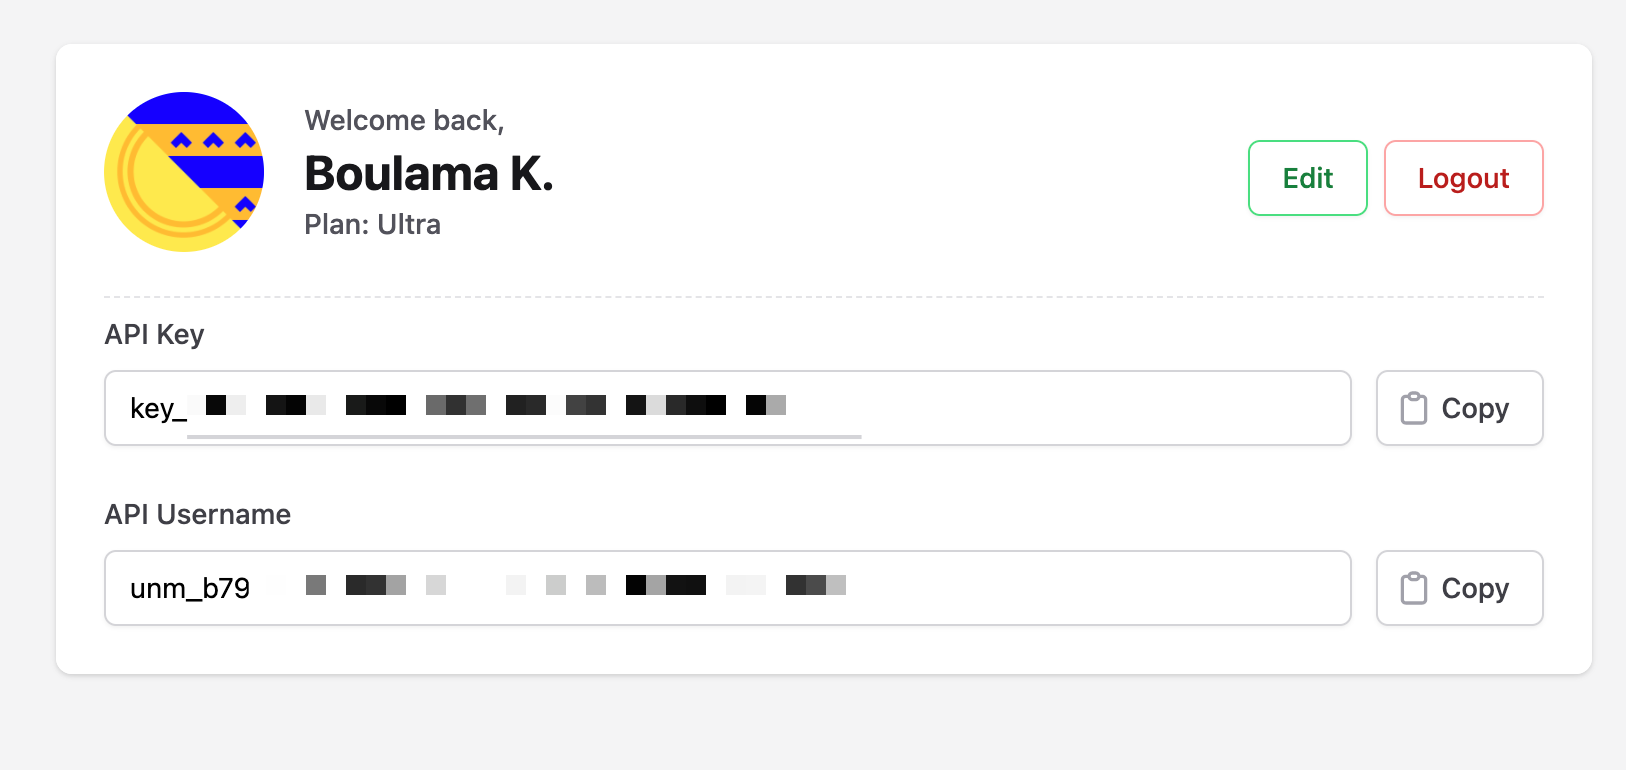
 Now that you've chosen the event, you will be prompted to choose a Tinq AI account. Before this step, make sure that you have your Tinq API credentials in hand, you can get them for free by registering to Tinq here, and your keys will be in your profile.
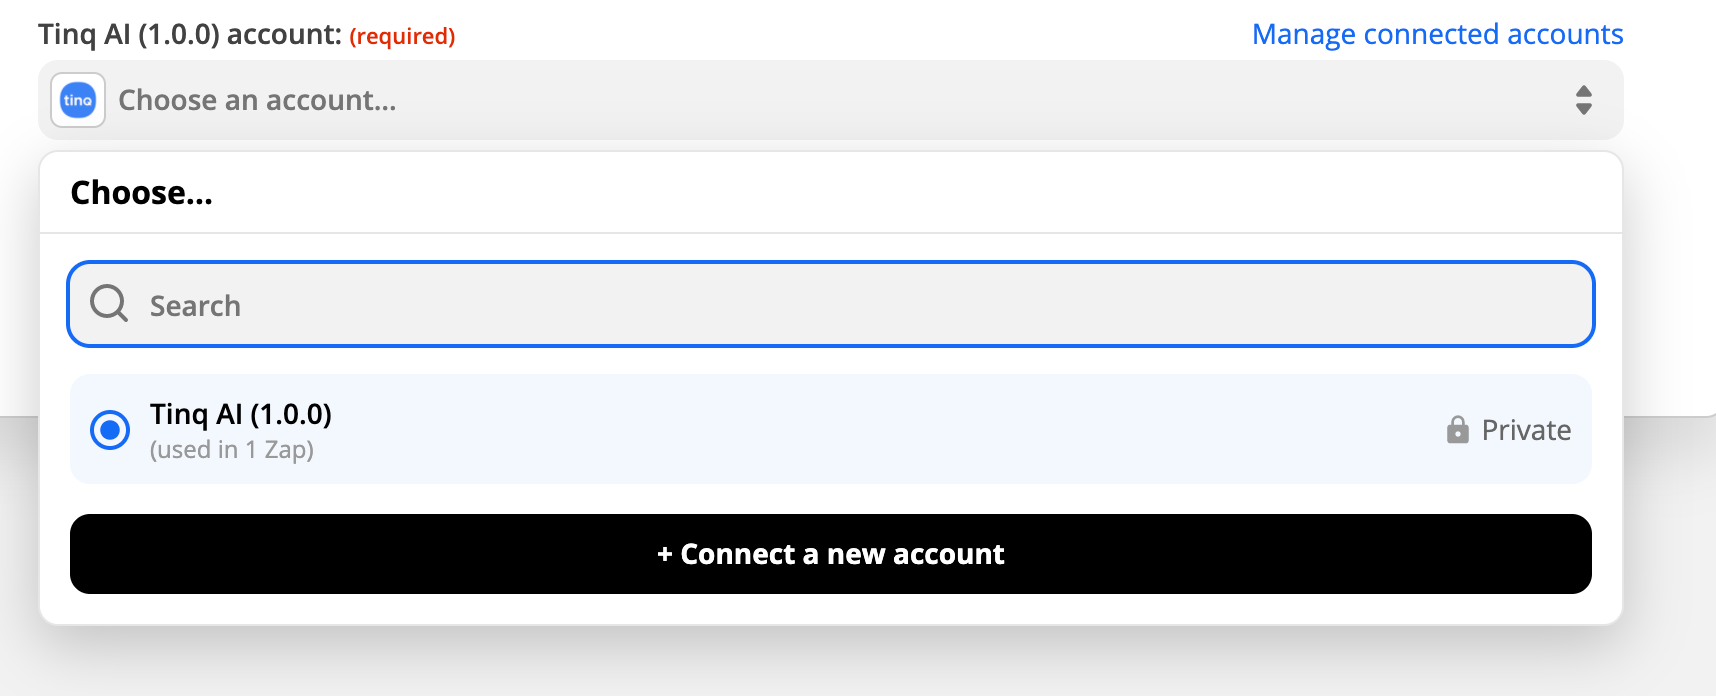
 With your keys in hand, you can go ahead and connect your Tinq account to Zapier if you have not already, simply click on "Connect a new account". You will be prompted to enter your API key as well as your API username.
 If they are correct, you will be able to proceed and your Tinq account will be linked to your Zapier account, otherwise, you will be prompted with an error.
You are now are ready to set up the action. This action will take your feedback and feed it into Tinq's API for analysis. Make sure to select the right input, as denoted in the screenshot below:
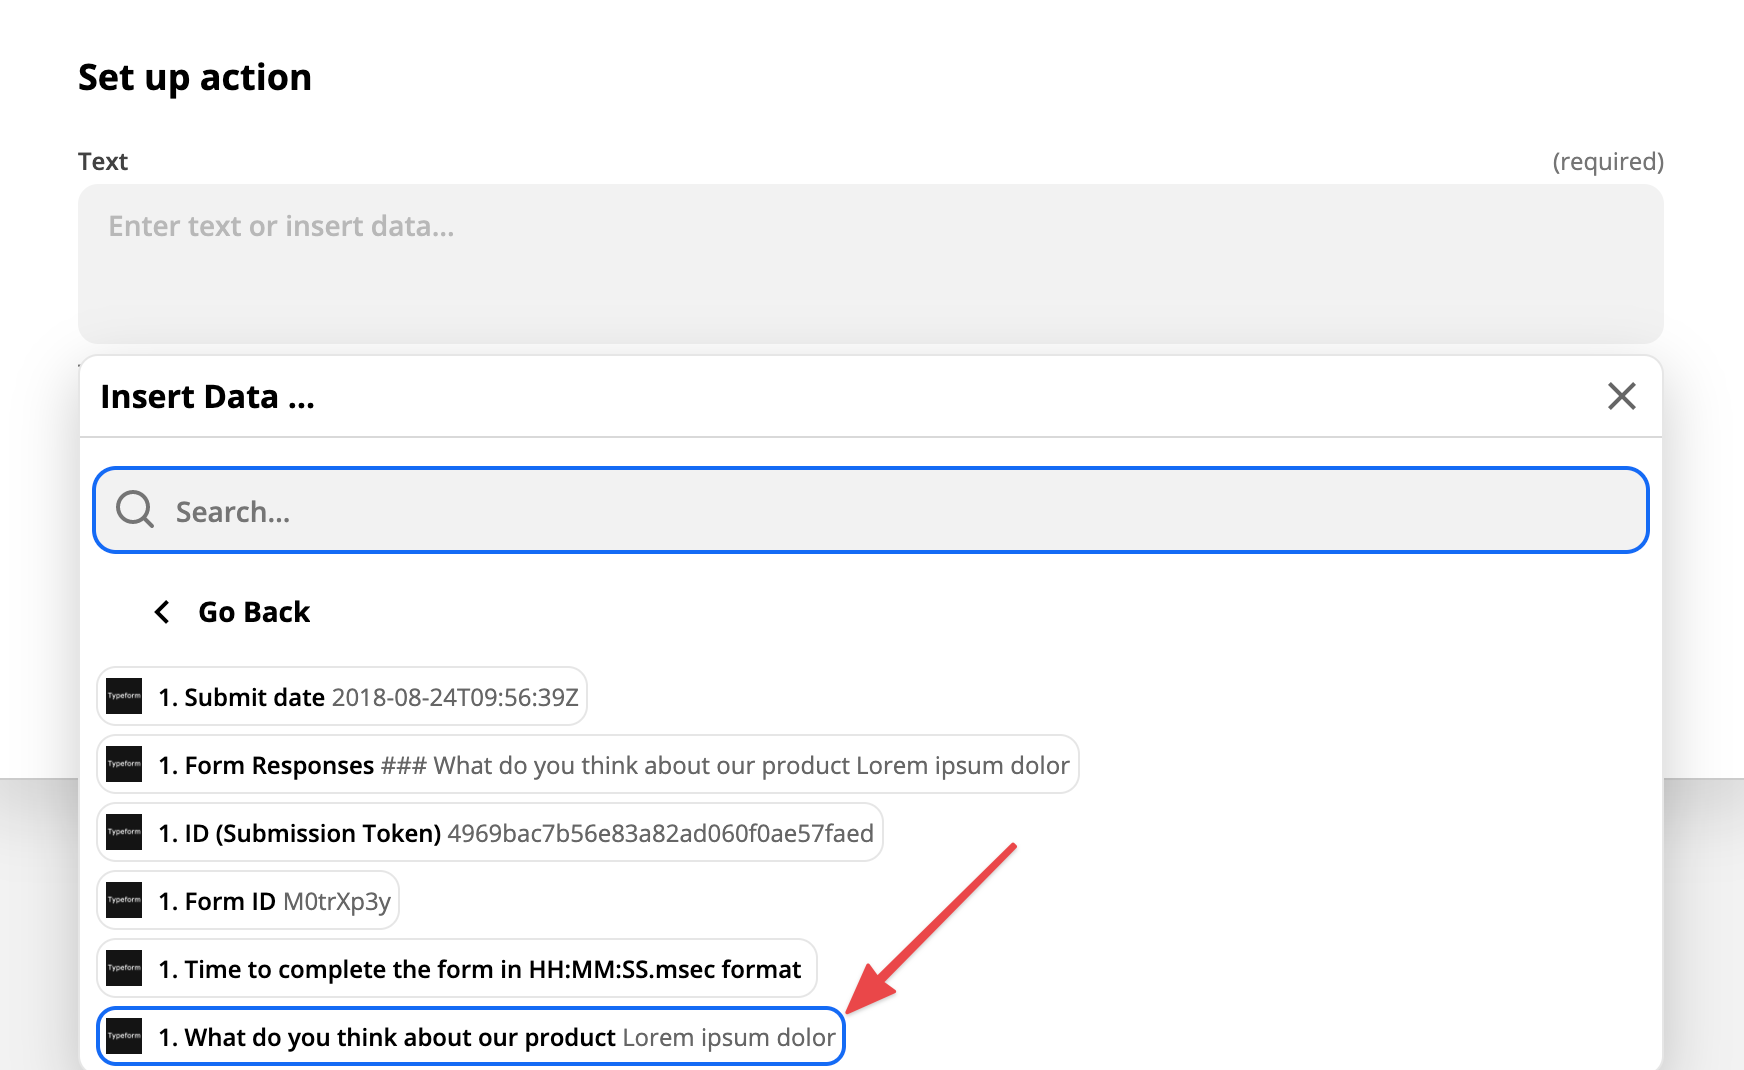 This selected input will be used for the test, but the field will be used to map future inputs. Once selected, you can go ahead and test it, click "Test & review". After that you will be prompted with an output, that will look like this:
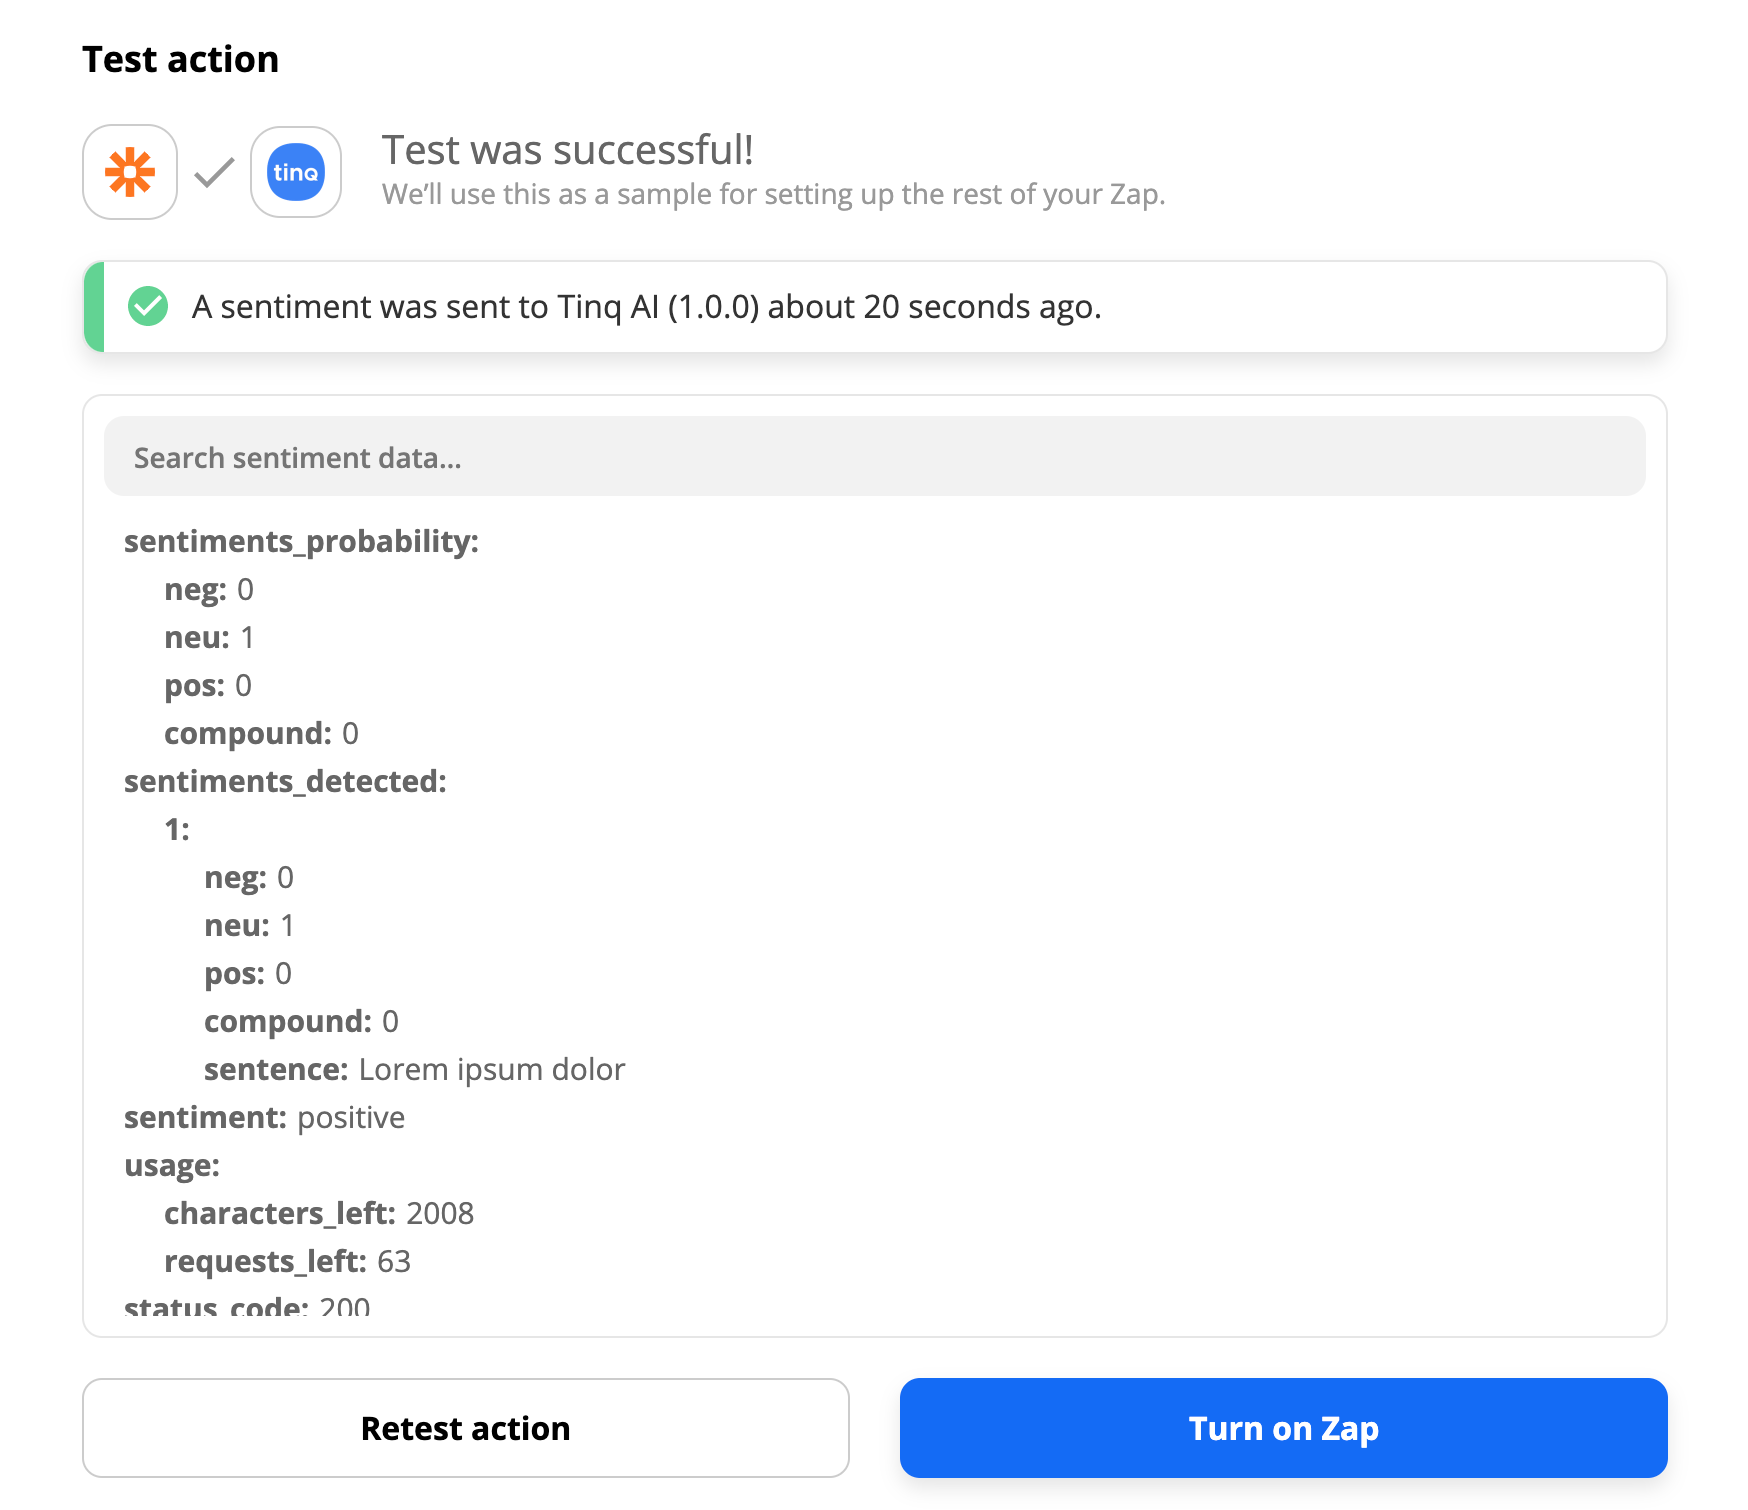 It contains what the Tinq API returns, (please disregard the fields "sentiment probability" & "sentiments detected" as they will soon be deprecated). The only field that you will need for the next step will be "sentiment", as you will use it to populate your sentiment field in Airtable.
3. Create the Airtable action - Insert feedback & sentiment in Airtable
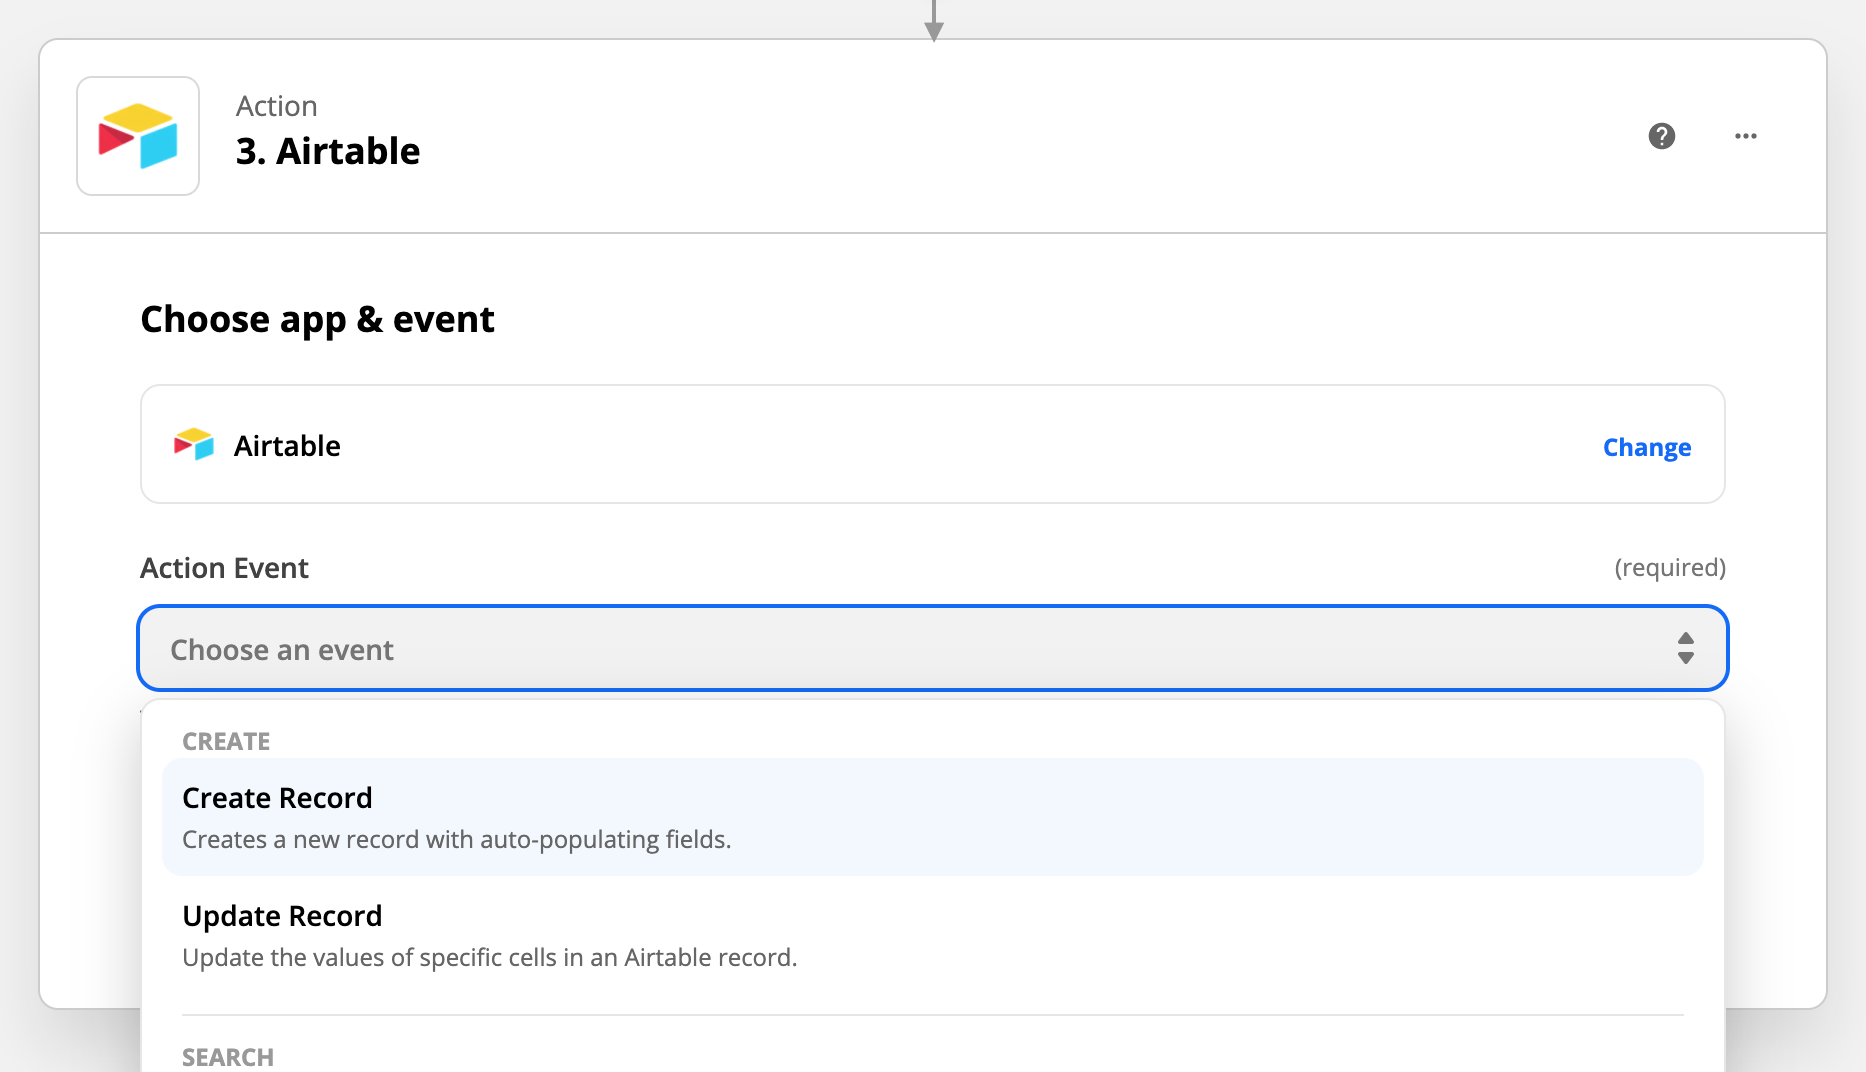
Like the previous steps, we will need to connect Airtable to Zapier, simply search for Airtable in the integrations list, and choose the right event, in our case, it will be "Create record".
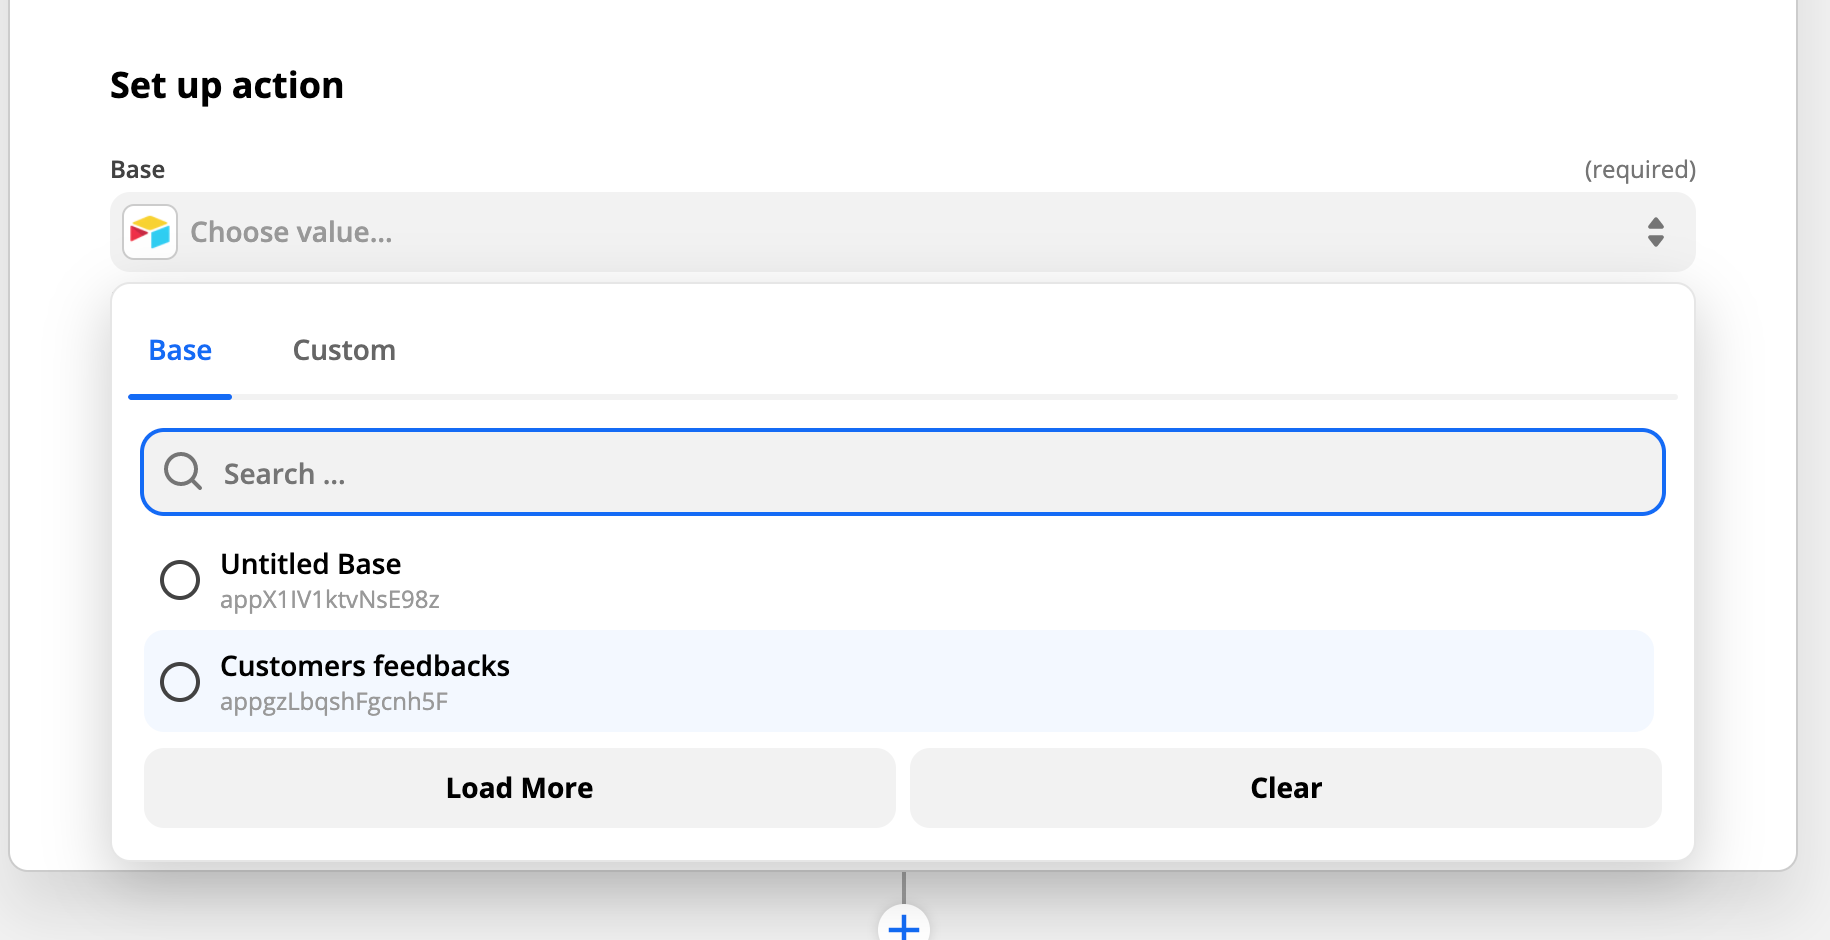
 Then you will be prompted to connect your Airtable account using your Airtable API key, you can find it in your account settings. You will then be asked to choose that you will like to add content to. In the previous step, I created a base called "Customers feedbacks", I will use this one.
 Once completed, you will be listed all the tables present in this base, since I have only one (Table 1), I will use it.
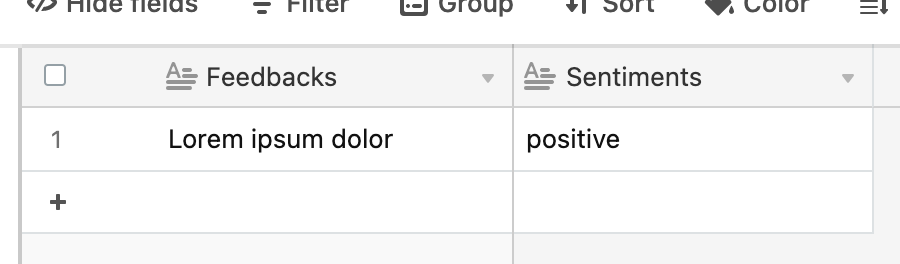
Then we will complete our two columns (feedbacks & sentiment) as follows:
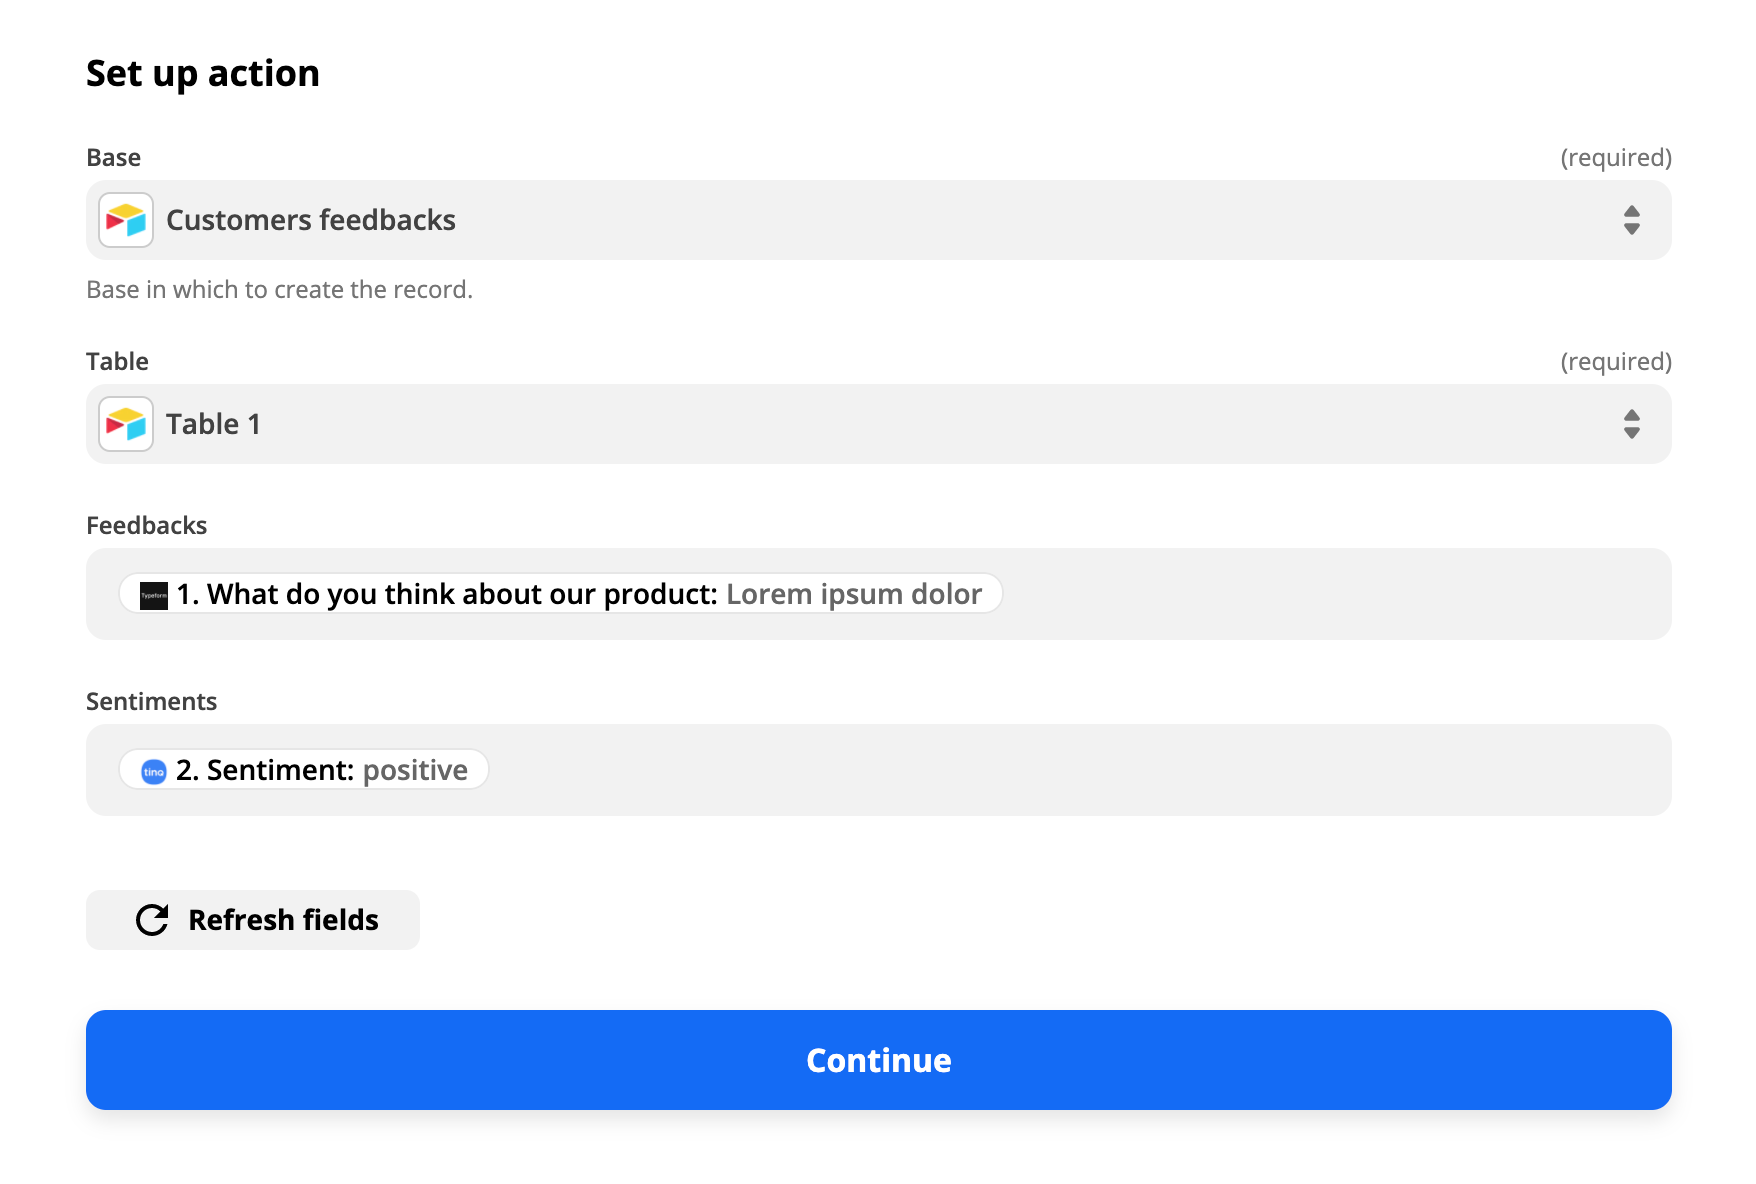 This means that whenever a user enters feedback, they will automatically be populated in our Airtable base. Click "Continue" to proceed and test.
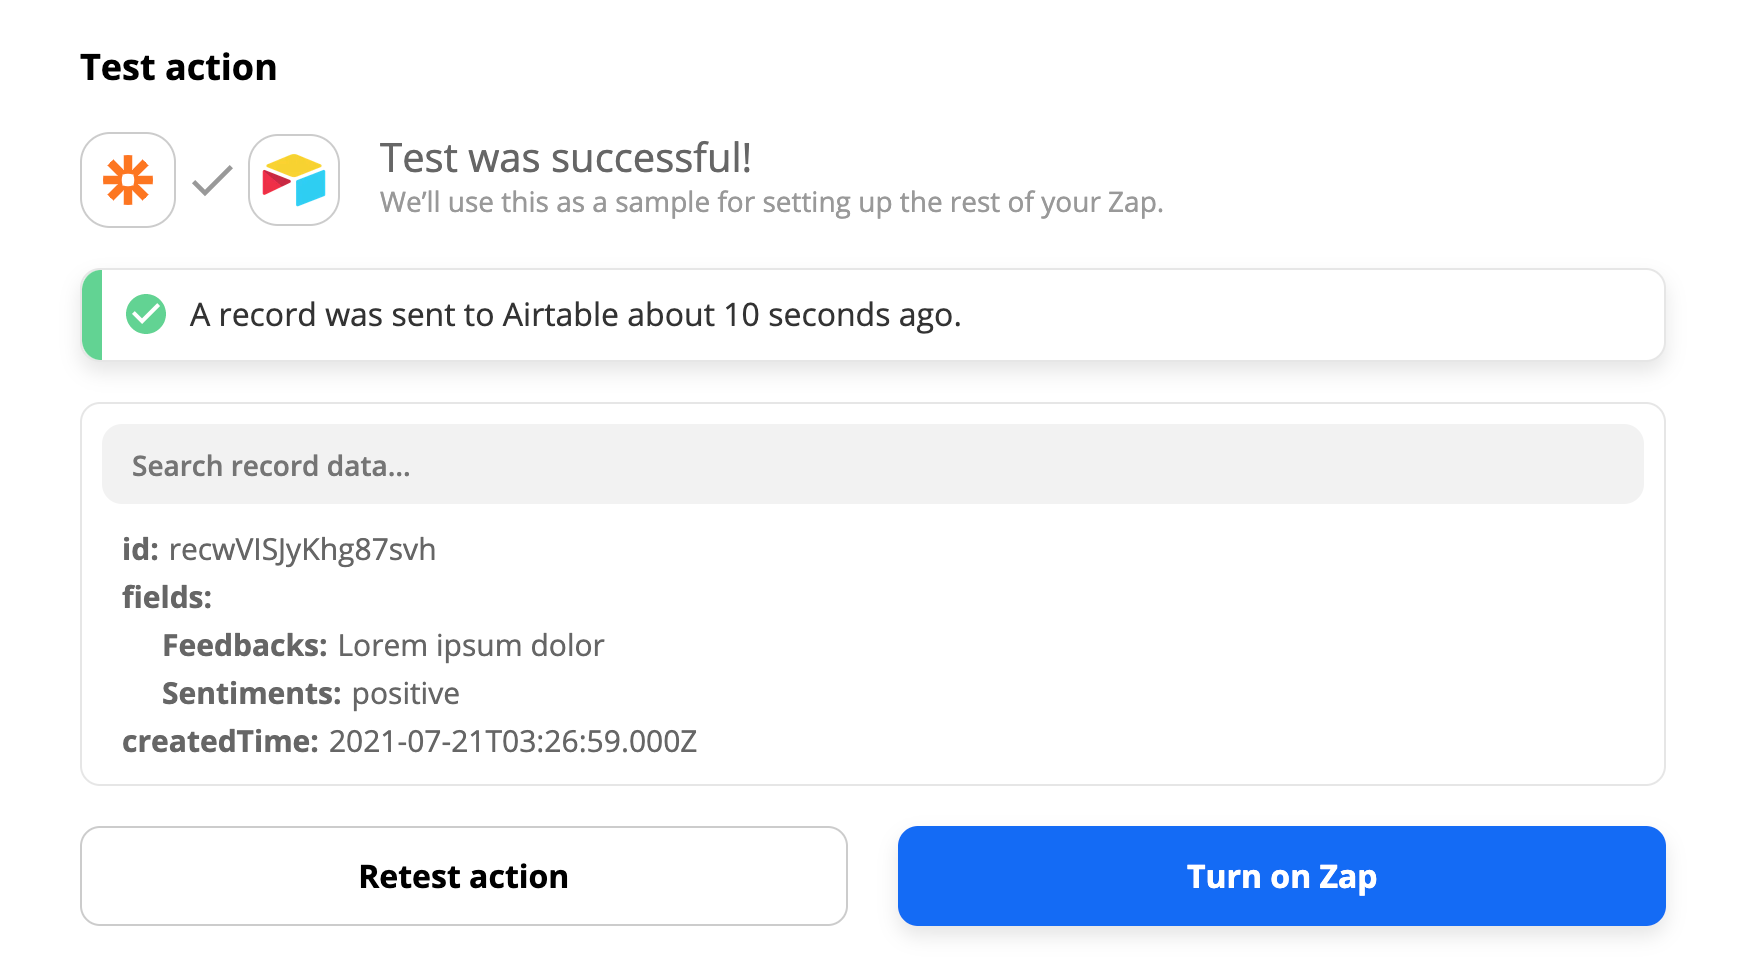 And voilà!
 You can now turn on your Zap.
See it in action:
Thanks for sticking to the end 😊Feel free to follow Tinq on Socials:
Related Posts


Unify all your datasources and give your AI the context it needs.
Connect Google Drive, SharePoint, Notion, CRMs, wikis, and more—securely indexed and instantly usable in ChatGPT, Claude, Gemini, or any AI assistant.